Showing posts with label cost efficient recipe. Show all posts

Thursday, August 9, 2012

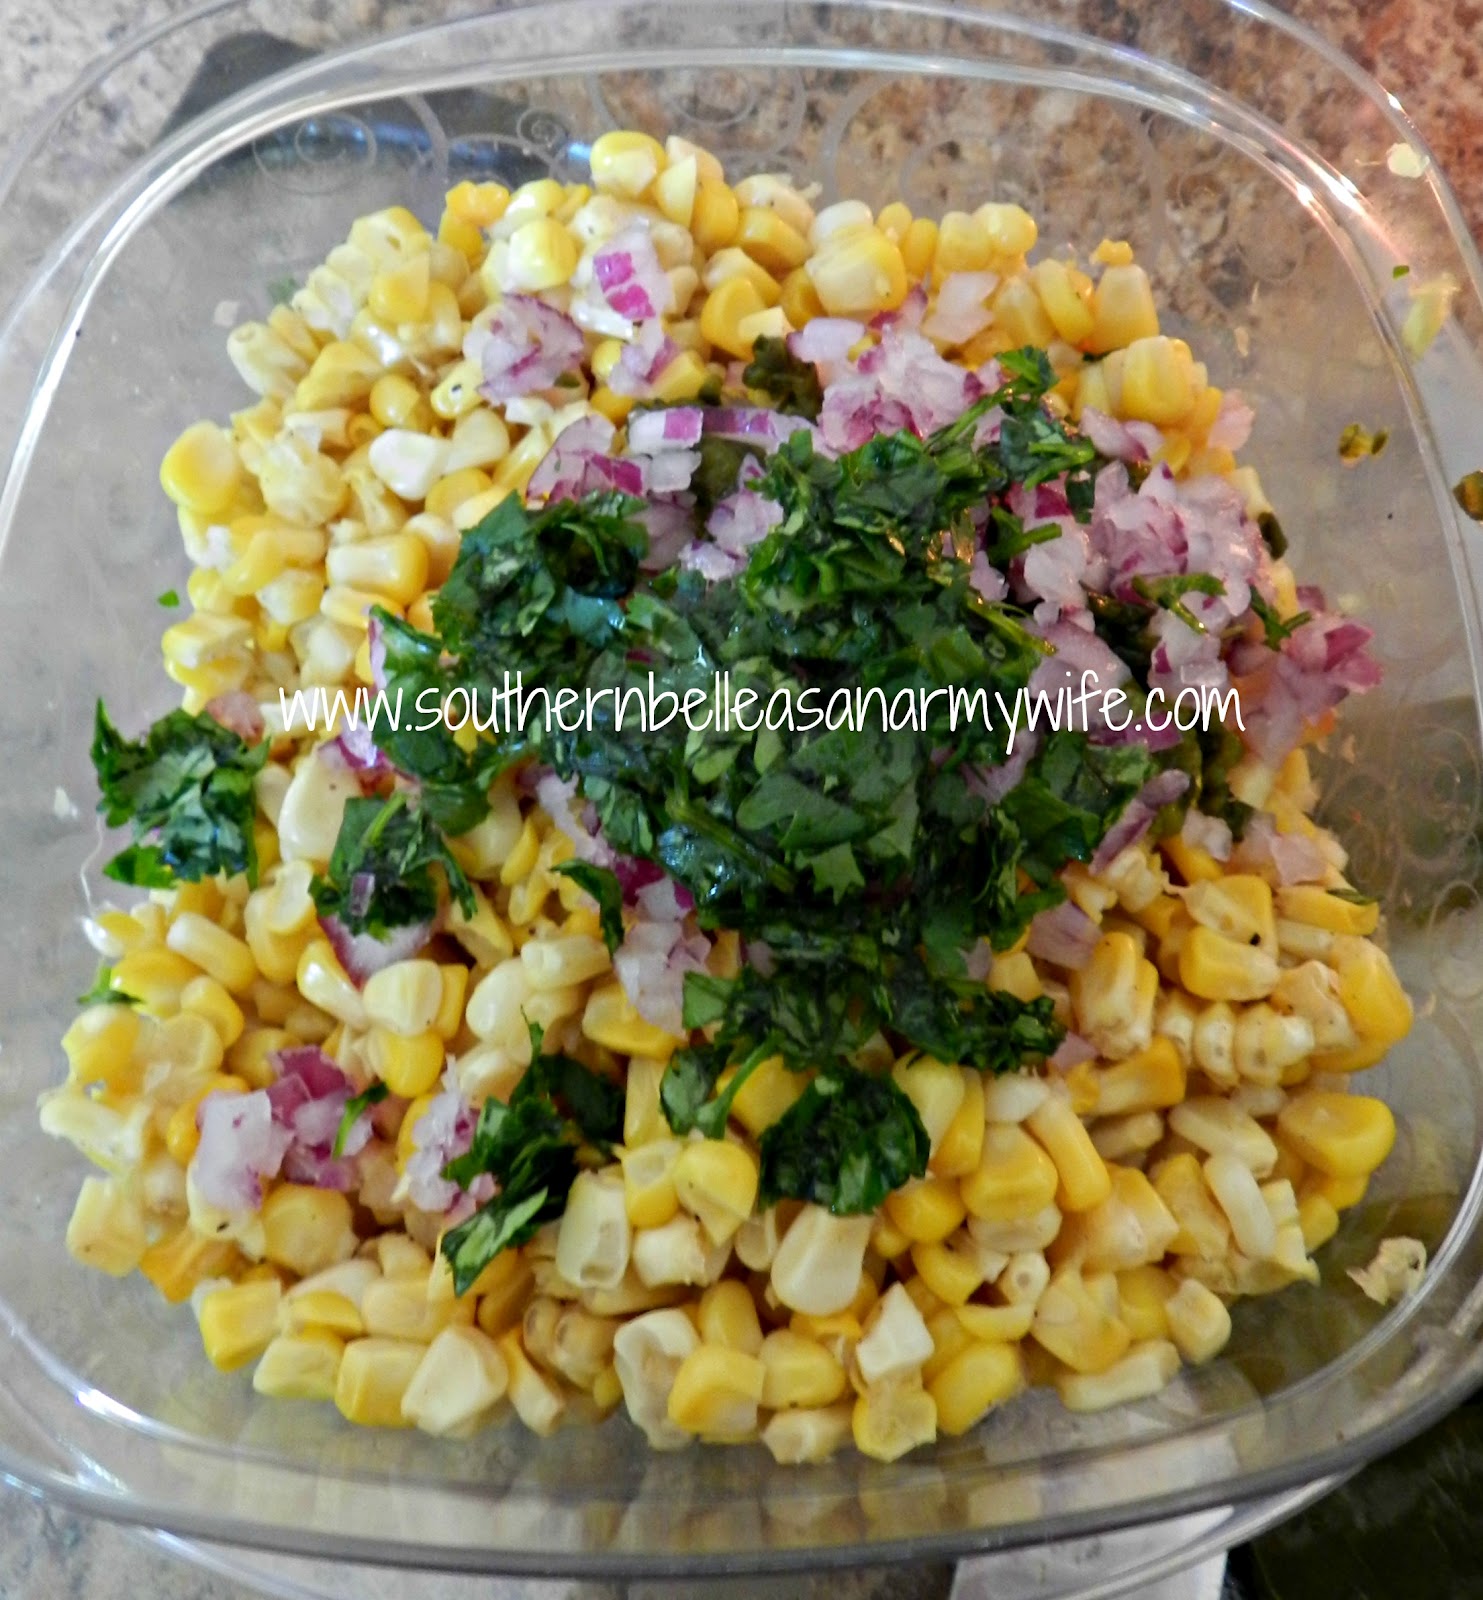
Fire Roasted Corn Salsa


On Cinco de Mayo this year, I was craving a predominantly corn salsa to go with our taco bar. Let me tell you what--I have burned my poor husband out on shredded chicken barbeque tacos (I'll post a recipe for that another time) just to eat with the corn salsa since! It adds the perfect touch to tacos and salads. Hope ya'll enjoy it as much as we have :)


Ingredients:

5 ears of corn (I love the bi-color)
2-4 tablespoons of diced red onion
1 jalapeno pepper
1 poblano pepper
Juice of 1 lime
2 tablespoons fresh chopped cilantro
2 teaspoons sugar (omit this if you'd like a healthier option. I just like the balance it gives the lime)
approx 1 tablespoon butter or margarine
salt
pepper
garlic and onion powder
aluminum foil


Prep your corn and fire up the grill!

After prepping your corn, lightly butter it and place on a sheet of aluminum foil large enough to wrap the corn securely in. Before wrapping, salt, pepper, and lightly sprinkle garlic and onion powder onto the corn.


Wrap up the corn and peppers (no seasonings) and roast on the grill. I always put the peppers around the outside of the grill and use about a medium heat; roasting for a hour, or until the corn is tender. When I have the time, I like to use a low heat and let the corn roast for a few hours. But be careful because too long and you'll lose the crisp and get a gummy texture. 

Let the corn cool enough to handle it and then cut it off the cob.

When you open the foil with the pepper, you're gonna find a couple withered up green mushy things. That's normal, I promise ;)


When I don't have gloves handy for the kitchen--which let's face it, that's never--I use the veggie bag I put the pepper in at the store and wrap it around my hand for protection against the heat. Or at least that's what I should do most of the time. It's a wonder I haven't put my own eyes out yet! 

Deseed the peppers. I like a little bit of spice, but I don't like my salsa so hot that my nose runs into my food, so for this amount of corn I use half the jalapeno and 1/3 of the poblano. To make it easier, I just stack one on the other and mince.


You'll end up with a big jarbled up mess that looks something like this:


Add peppers to the corn along with the diced onion (I start with 2 Tablespoons and add more, depending on my mood), chopped cilantro, sugar. Stir together well. Cut a lime in half and squeeze juice into the salsa and stir again. Will keep my refrigeration for about 2 weeks. I like to leave my lime in the salsa for about a week and then toss it out. 


Enjoy!


Monday, July 9, 2012

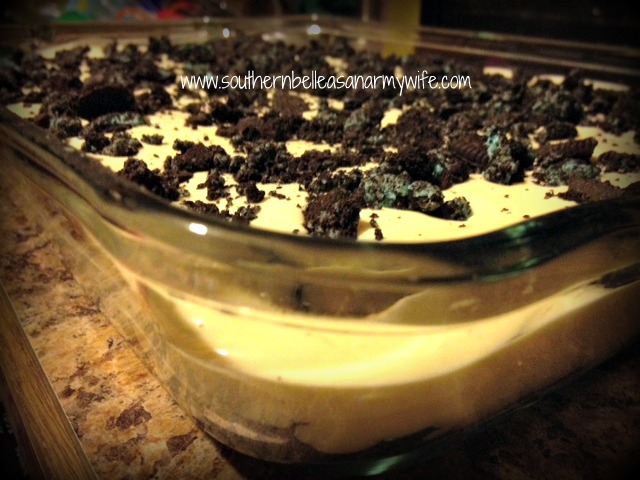
Cookies 'N Creme


Last week, I did a guest post for Jill over at Create.Craft.Love. Jill has an awesome blog where she shares craft tutorials, DIY ideas, and co-hosts a once-a-week link party to share any creation you've done. She asked me to take part in her series for Summertime BBQ and asked to share something that I take. Since I was out of town and didn't get to link that over to ya'll, I thought I'd post it here for you as well! (Be sure to go over and see Jill to check out the other summertime bbq recipes from the series!)

When we go out to others' BBQs, I usually like to bring a dessert, unless specifically asked what to bring. And if not asked to bring anything, who can argue with dessert?! The cool treat I'm going to share with you today is quick, simple, and something I've learned that no matter how full the tummies seem to be, no one can turn it down. My mom used to make this when I was a kid and it's came to be a go to recipe that I've loved to whip up over the years. Hope ya'll enjoy it!

Cookies 'N Creme

2 small pkg instant vanilla pudding
4 cups milk
1 8oz pkg softened cream cheese
1 8oz. tub frozen whipped topping (thawed)
1 pkg cookies 'n cream cookies (I used summer edition Oreos), crushed and divided


Prepare the instant pudding according to package directions.

Beat softened cream cheese until smooth.

Once pudding forms, mix cream cheese into it.

Fold whipped topping into the mixture.

With half the crushed cookies, cover bottom of 9X13 dish.

Pour mixture over cookies.

Top with remaining cookies.


Doesn't get much more simple than that, right? Who wants to spend hours in the kitchen during the summertime anyway?!

****Tip: Freeze in popsicle molds (or Dixie Cups!) for the perfect summertime treats that you your kids will LOVE********

Enjoy and prepare to take home an empty dish! 

 or...

Monday, March 26, 2012

Cheeseburger Loaf

After two weeks of a whiny children ridden, mad-woman rushed, behind-numbing, wallet-breaking fun-filled Disney Vacation (plus a little family trip for a wedding), we are back and I'm so ready to get back in the swing of things! After looking, I see that my post stating that I wouldn't be posting for two weeks did NOT show...grrr...so I'm sorry for anyone that looked and was confused. Also, being fairly new, I didn't feel comfortable asking for guest posters for that long.

To kick things off I have a "new" recipe for you! This one we have used as a go-to recipe for years and the entire family loves it. It's very filling, time and cost-efficient (after a Disney trip, I'm all about that), and most importantly--delicious! I adapted this recipe from a Taste of Home magazine about 5 years ago. You can find the original recipe here. What I like about this recipe is that it is easily adaptable to suit your tastes and there are so many different things you can do with it.

Here's my version of The Cheeseburger Loaf:

1 1/2 lb ground meat of your choice (I'm using 82% ground beef in this one, but ground turkey is great in it)
1/2 can of condensed tomato soup
1/2 cup your favorite BBQ sauce
1/4 cup chopped onion
1/4 cup chopped green pepper
Salt and Pepper to suit your tastes
1/2 teaspoon garlic powder
2 tsp sugar
1 loaf of French bread (l lb) (unsliced)
Approximately 5 slices of your favorite cheese (using American here)


First, begin browning the meat and while it's going, work on chopping/mincing the green peppers and onions.  I, of course, do all the mincing by hand ;)

Some people like to add their veggies at different times, but I prefer once the meat is cooked about halfway through so that some of the fat has cooked off of it. By the time the meat is browned, the veggies are tender. 


Drain the fat and return meat and veggies to pan.
Add garlic powder,salt and pepper, sugar, tomato soup, and barbecue sauce.
On medium heat, bring the mixture to the point where it just starts to bubble up.
Allow to slowly simmer (low heat) for approximately 15 minutes. Sauce will bubble slightly and be thick.


While the mixture is simmering, turn your attention to the French bread. Using a bread knife, cut off the top third of the loaf.


Set the top aside and using a spoon, carefully scoop out the inside of the bottom side, leaving approximately 1/2 inch for the shell and creating a tunnel. (My family likes to snack on the scoopings as it cooks! Saving for breadcrumbs is also a good idea.)


Slather the top side with butter and place both pieces on a baking sheet. Fill the tunnel with the simmered mixture.


Top with slices of cheese.

Using the broil setting, place the loaf in the oven. Watch carefully and pull once the cheese is melted. It only takes a few minutes, so don't walk away!

Once it's done, place the top back on the loaf and slice in 1-2 inch sections and....

ENJOY!!

Sharing with:
”Debbie

Photobucket