Tuesday, August 21, 2012

Free Fall Printable


            School’s in session! Well, for everyone EXCEPT my daughter’s school district. They don’t go back until the 4th of September. I mean, really. The last few years it has seemed as though kiddos were returning earlier and earlier and then out of nowhere, this insane district goes September 4! Moral of the story: Fall is almost here. Yes, that is legitimately the moral of the story. To celebrate, I made a fun little free printable for me and you! I’ve seen a few on the internet and none have just everything I love. So if you love these things too, then here ya go!

You like? Then click to print it off!
            Just print it off on a very light brown 8x10, put it in a frame, and put it on your mantel with the rest of your fall décor here in a few weeks…or now
           
         Next up, I’m going to make a Fall Bucket List to print off. In the meantime, here is one from How To Nest For Less that is just adorable!

 Tell me some of the things that you’d like to see or that you and your family do during the fall. Leave a comment here, on Facebook, or Twitter

Thursday, August 9, 2012

Fire Roasted Corn Salsa


On Cinco de Mayo this year, I was craving a predominantly corn salsa to go with our taco bar. Let me tell you what--I have burned my poor husband out on shredded chicken barbeque tacos (I'll post a recipe for that another time) just to eat with the corn salsa since! It adds the perfect touch to tacos and salads. Hope ya'll enjoy it as much as we have :)


Ingredients:

5 ears of corn (I love the bi-color)
2-4 tablespoons of diced red onion
1 jalapeno pepper
1 poblano pepper
Juice of 1 lime
2 tablespoons fresh chopped cilantro
2 teaspoons sugar (omit this if you'd like a healthier option. I just like the balance it gives the lime)
approx 1 tablespoon butter or margarine
salt
pepper
garlic and onion powder
aluminum foil


Prep your corn and fire up the grill!

After prepping your corn, lightly butter it and place on a sheet of aluminum foil large enough to wrap the corn securely in. Before wrapping, salt, pepper, and lightly sprinkle garlic and onion powder onto the corn.


Wrap up the corn and peppers (no seasonings) and roast on the grill. I always put the peppers around the outside of the grill and use about a medium heat; roasting for a hour, or until the corn is tender. When I have the time, I like to use a low heat and let the corn roast for a few hours. But be careful because too long and you'll lose the crisp and get a gummy texture. 

Let the corn cool enough to handle it and then cut it off the cob.

When you open the foil with the pepper, you're gonna find a couple withered up green mushy things. That's normal, I promise ;)


When I don't have gloves handy for the kitchen--which let's face it, that's never--I use the veggie bag I put the pepper in at the store and wrap it around my hand for protection against the heat. Or at least that's what I should do most of the time. It's a wonder I haven't put my own eyes out yet! 

Deseed the peppers. I like a little bit of spice, but I don't like my salsa so hot that my nose runs into my food, so for this amount of corn I use half the jalapeno and 1/3 of the poblano. To make it easier, I just stack one on the other and mince.


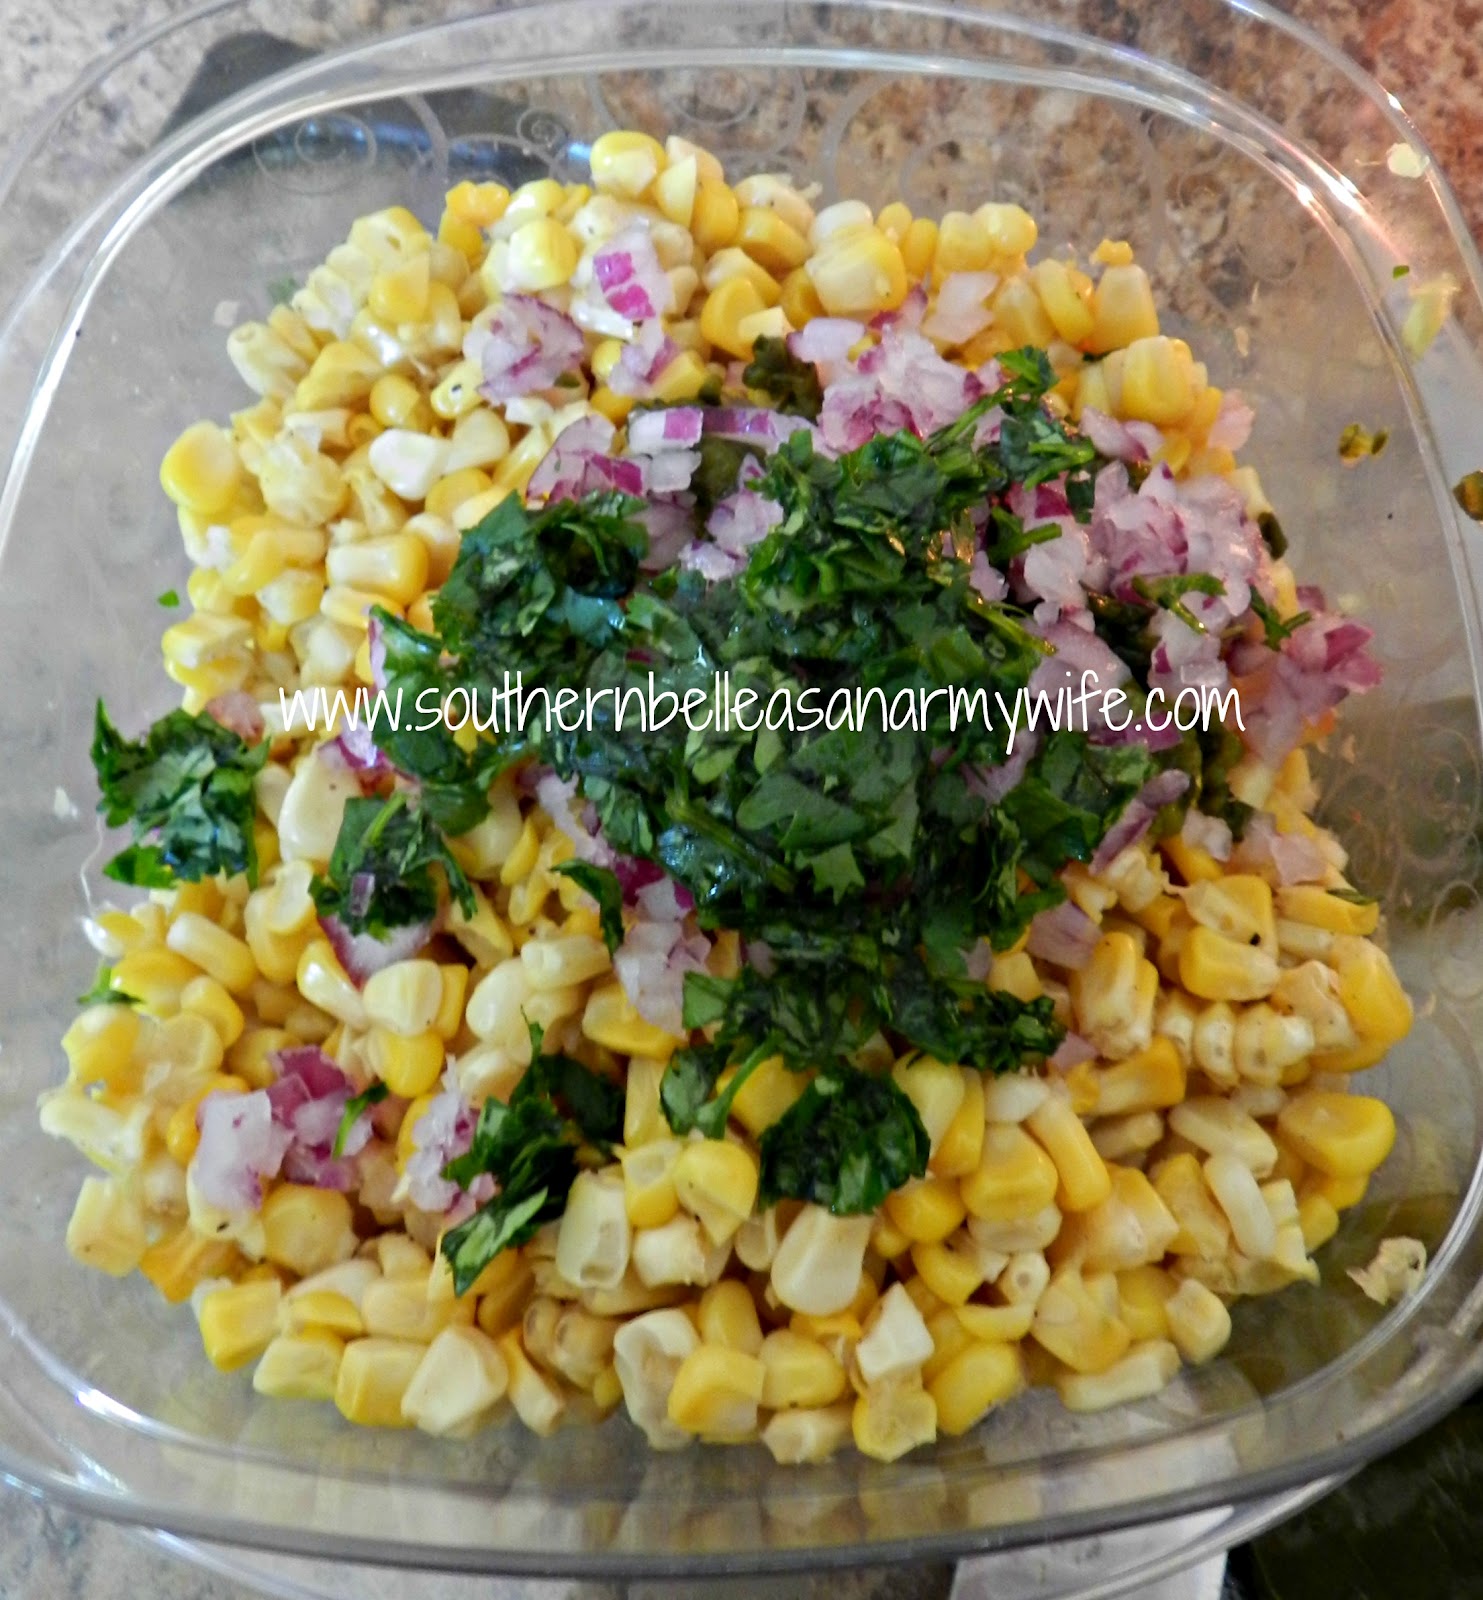
You'll end up with a big jarbled up mess that looks something like this:


Add peppers to the corn along with the diced onion (I start with 2 Tablespoons and add more, depending on my mood), chopped cilantro, sugar. Stir together well. Cut a lime in half and squeeze juice into the salsa and stir again. Will keep my refrigeration for about 2 weeks. I like to leave my lime in the salsa for about a week and then toss it out. 


Enjoy!


Monday, July 23, 2012

White Mocha Caramel Cheesecake


A few months ago, I ran across a contest to come up with a recipe. The only requirements were two ingredients: white chocolate and caramel. I can't even tell you how thrilled I was! I thought the only thing that would make it better would be if coffee was
 involved (I have a soft spot for white mocha caramel Starbucks frapps!). I was also craving cheesecake at the time, so thus this one was born. WARNING: this is not quick. This is legit cheesecake using classic methods, so it's tedious; but it's SO worth it!

White Mocha Caramel Cheesecake


Crust:
2 1/4 cups graham crackers (crushed)
1/4 cup melted butter
1/4 cup sugar

Filling:
3 8oz pkg cream cheese (softened)
1 cup sour cream
4 eggs (lightly beaten)
1 cup sugar
1 tsp vanilla
3 T cornstarch
1 T instant coffee granules
2 T boiling water)
12 oz white chocolate baking chips
2 regular size or 8 fun size caramel-nougat candy bars chopped (I used Snickers)

Topping:
About 3/4 cup of your favorite caramel topping
OR
I made a caramel crunch topping by using:
1 cup powdered sugar
1 T butter
A few cracks from a sea salt grinder

Directions:
*Preheat oven to 325 degrees F and grease a 9 inch springform pan.
*Double wrap the outside of the pan in foil to prevent leaks from the hot water bath.
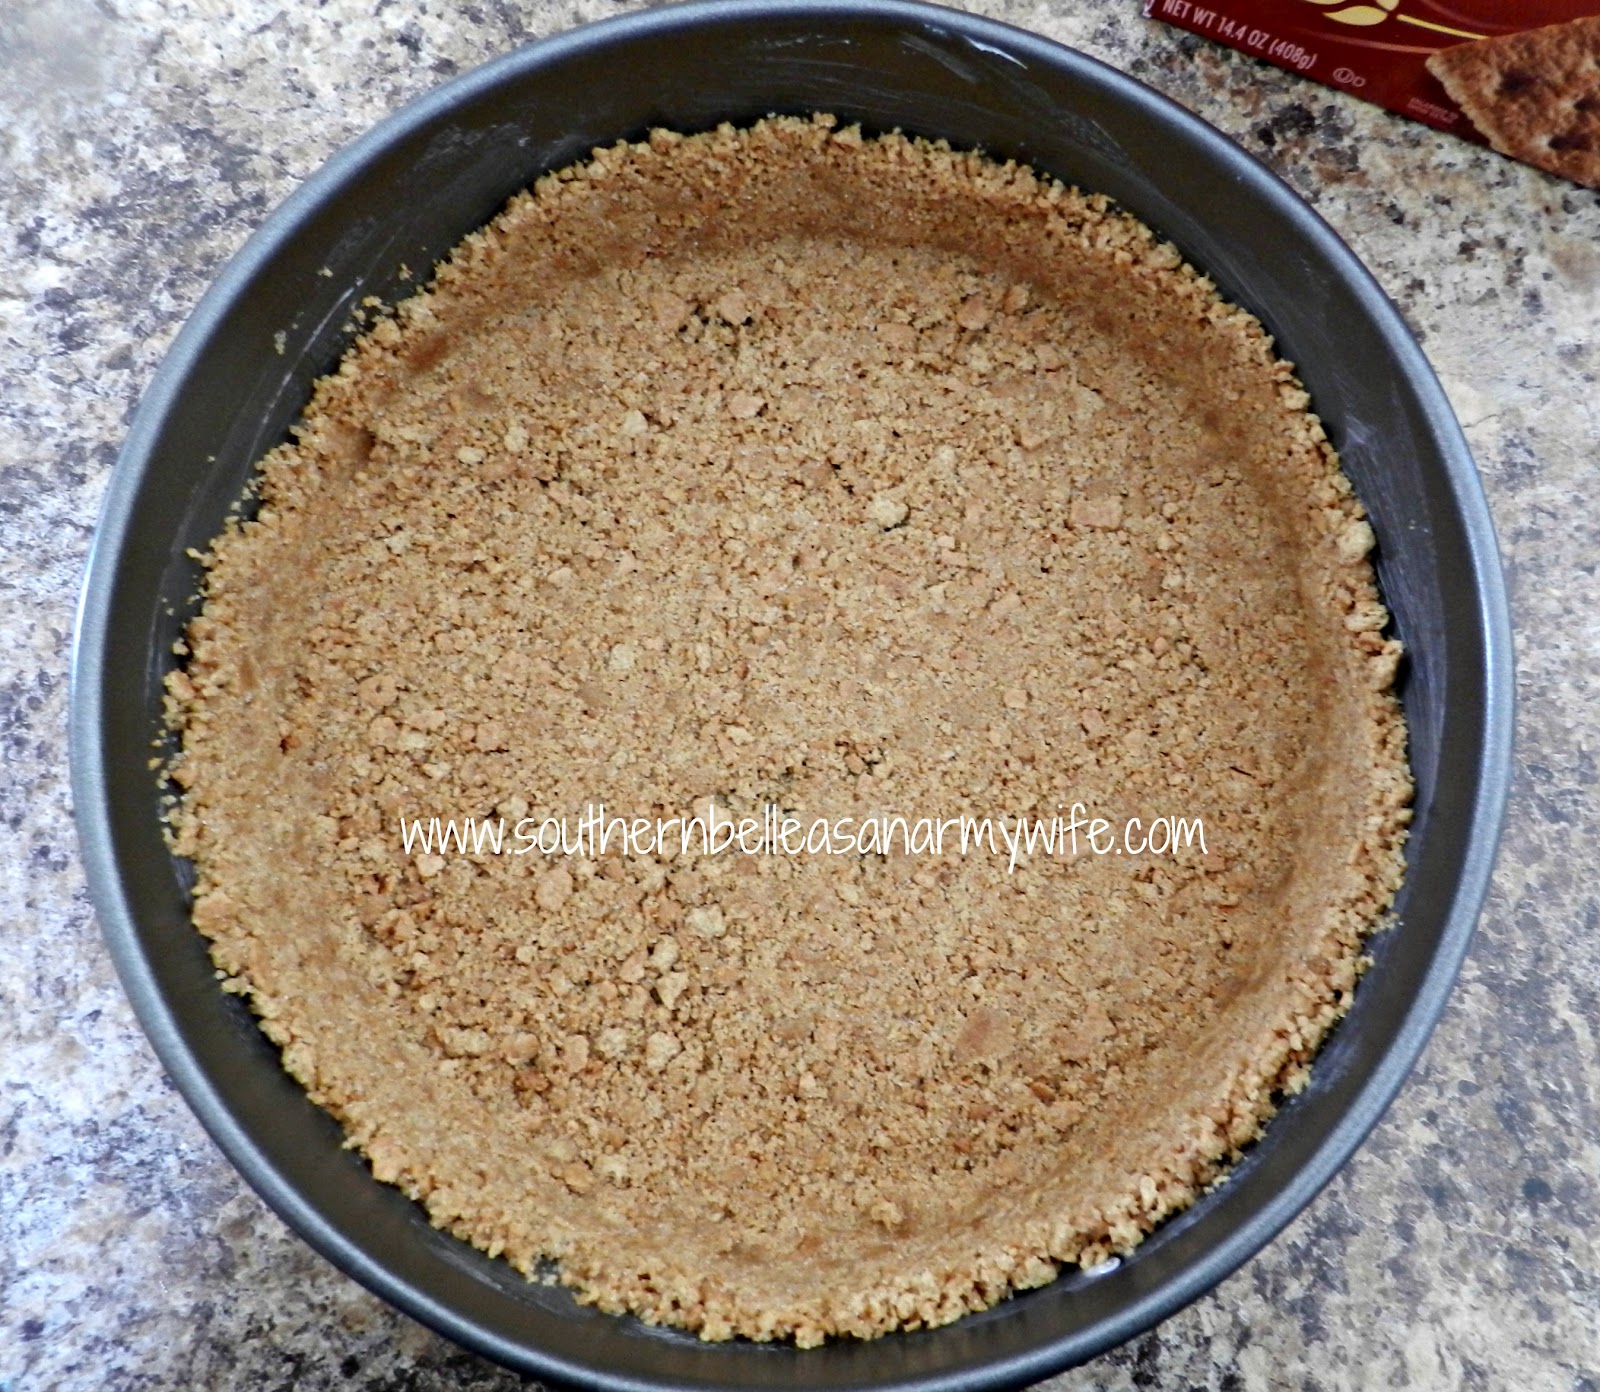
*Combine crust ingredients until moist and press into the bottom and one inch up the sides of the springform pan
using the bottom of a measuring cup.


*Dissolve coffee granules in water.
*Melt chocolate according to package directions.
*Cream the cream cheese and the sugar until smooth. Add in sour cream, vanilla, and corn starch and continue
to beat until smooth.


*Add 4 eggs and carefully beat JUST UNTIL MIXED.
*Pour half of the batter into a separate bowl.
*Stir in white chocolate into one bowl of batter.


*In the other bowl of batter, stir in the dissolved coffee mixture.

*Alternate spooning HALF of each mixture into the spring-form pan. Carefully swirl with a butter knife.


*Arrange candy bar pieces on top.

*Repeat spooning the remaining batters and swirl again.
*Set the spring-form pan inside a larger pan that you can pour water into for a water bath. It needs to be large
enough to be able to cover up an inch on the springform pan.
*Place the pan with the spring-form pan in it inside the oven and using a kettle, or something large enough to hold
a lot of water, pour water to fill up to an inch from the bottom of the spring-form pan.

*Bake at 325 for 50 minutes. Turn the oven off and leave it in the oven for another hour.
*Let rest on cooling rack for 10 minutes and then run a butter knife around the edge to loosen.

*Allow to cool all the way.
*Once it has cooled, place it in the refrigerator for 12-24 hours to chill.
*Once ready to serve, remove from the spring-form pan and top with caramel sauce.
*If you wish to do the caramel crunch, in a saucepan on med-high heat let 1 cup powdered sugar until caramel-
ized. Stir occasionally and allow to come to a golden brown (we're going soft-ball stage here). Add 1 T butter and a few cracks sea salt from a
grinder. Quickly pour over cheesecake.


And if you happen to not like coffee, then just don’t add it and you’ll have a white chocolate caramel cheese-
cake...everyone wins!
Enjoy!

Sign up for the RSS feed to get all new recipes right away!

Friday, July 20, 2012

Love is in the air!


     As of today, my husband and I have been married for 7 years. SEVEN years! I know everyone thinks it, but I’m seriously going on a quest to find out where the time goes. It’s been a whirlwind, for sure. A deployment, four moves, two kids, four promotions for him, my never-ending college career (I’m without a doubt, a professional student), and the list goes on. Now here we are, in the middle of the U.S., winding down our first year in our first home (that we OWN); and besides the location, I couldn’t be happier. Well, I could. But that would require a wine cellar and a library. However, we don’t make that kind of money yet J With that being said, yes, I intend to! At some point. If we could ever get to one place long enough for me to actually finish my masters.


     And there I go, off topic, as usual. Where was I? Ah, yes. My marriage to that handsome soldier who puts up with me and keeps me happy day in and day out (let’s just not mention wine or books again and we’ll stay on track!) . How did we get here? Well, I’m glad you asked! Rewind about 7 ½ years ago and you’ll find a girl who fell in love with a soldier, completely unintentionally. As a matter of fact, I really tried my best not to. I tried to stay away. I tried not to get caught up in it. After all, I had been in a relationship throughout high school and was coming out of that. But when you are not looking, it finds you. No matter what “it” is. 


 We were, and still are, very much alike, yet different enough to keep things very interesting. We are both old souls and grew up before we had to. Thankfully, he came along at just the right time in my life. You see, I never wanted a soldier. Didn’t think I wanted that life. I thought it would be so lonely and just not worth it. I couldn't have been more wrong. Just in what he does, he has shown me so much about myself that I didn’t know. We’ve both chilled out and grown tremendously in these 7 ½ years. We’ve come to define to ourselves what the terms “unconditional love”, “honor”, and “respect” mean. Are we perfect? No. I’m still hot-headed as you can get.This is where I like to say he’s the sane to my crazy J But I would also like to throw in here that I’m not the only one with the temper. Something as simple as buttons on a uniform will send this man into a raging fit to where I don’t recognize him. That’s pretty funny to witness, actually. I can honestly say, though, that our “hard times” can be put on one hand and not count my pinky or thumb. Maybe it’s the no-nonsense attitude we share or maybe it’s the fact that we find even the most inappropriate things hilarious—I don’t know. But it works for us and for that I’m incredibly thankful.


Monday, July 9, 2012

Cookies 'N Creme


Last week, I did a guest post for Jill over at Create.Craft.Love. Jill has an awesome blog where she shares craft tutorials, DIY ideas, and co-hosts a once-a-week link party to share any creation you've done. She asked me to take part in her series for Summertime BBQ and asked to share something that I take. Since I was out of town and didn't get to link that over to ya'll, I thought I'd post it here for you as well! (Be sure to go over and see Jill to check out the other summertime bbq recipes from the series!)

When we go out to others' BBQs, I usually like to bring a dessert, unless specifically asked what to bring. And if not asked to bring anything, who can argue with dessert?! The cool treat I'm going to share with you today is quick, simple, and something I've learned that no matter how full the tummies seem to be, no one can turn it down. My mom used to make this when I was a kid and it's came to be a go to recipe that I've loved to whip up over the years. Hope ya'll enjoy it!

Cookies 'N Creme

2 small pkg instant vanilla pudding
4 cups milk
1 8oz pkg softened cream cheese
1 8oz. tub frozen whipped topping (thawed)
1 pkg cookies 'n cream cookies (I used summer edition Oreos), crushed and divided


Prepare the instant pudding according to package directions.

Beat softened cream cheese until smooth.

Once pudding forms, mix cream cheese into it.

Fold whipped topping into the mixture.

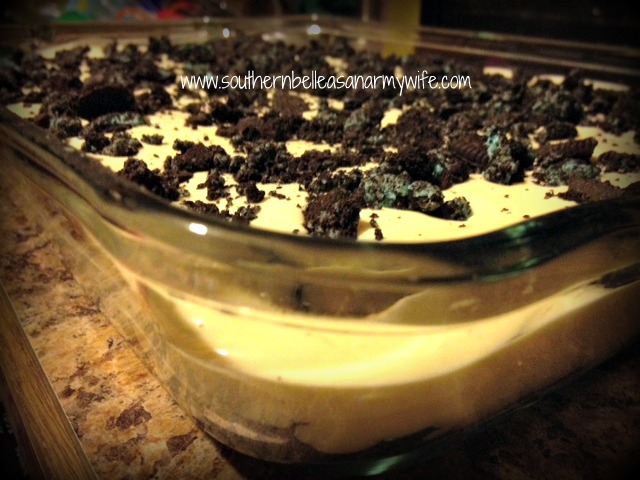
With half the crushed cookies, cover bottom of 9X13 dish.

Pour mixture over cookies.

Top with remaining cookies.


Doesn't get much more simple than that, right? Who wants to spend hours in the kitchen during the summertime anyway?!

****Tip: Freeze in popsicle molds (or Dixie Cups!) for the perfect summertime treats that you your kids will LOVE********

Enjoy and prepare to take home an empty dish! 

 or...